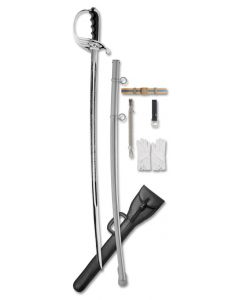
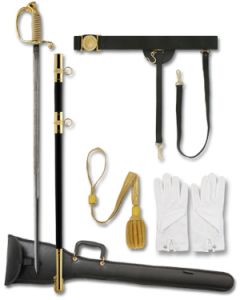
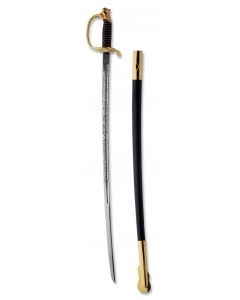
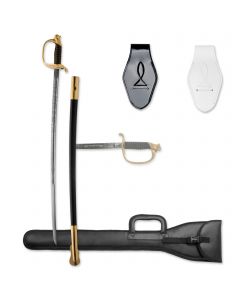
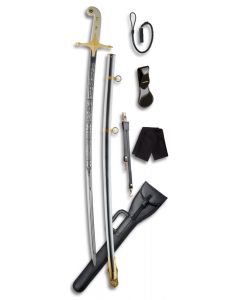
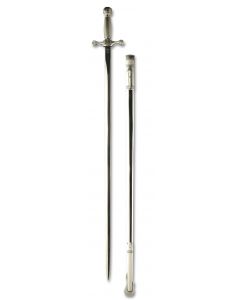
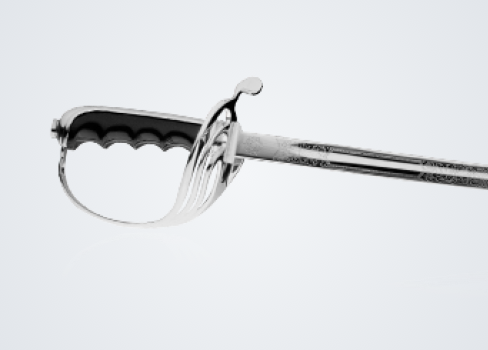
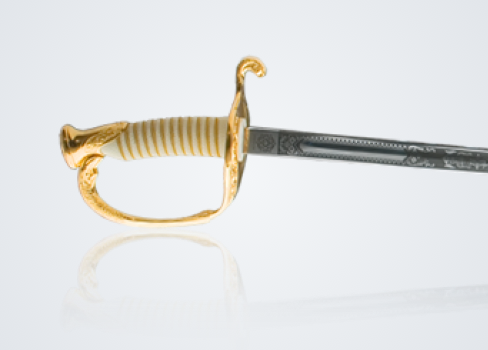
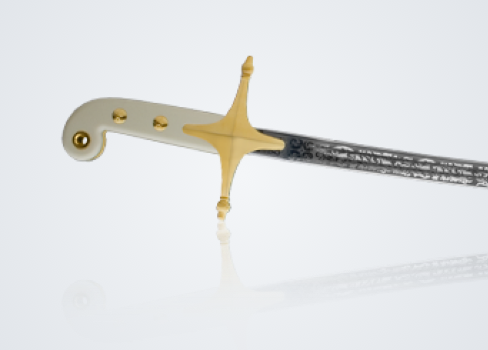
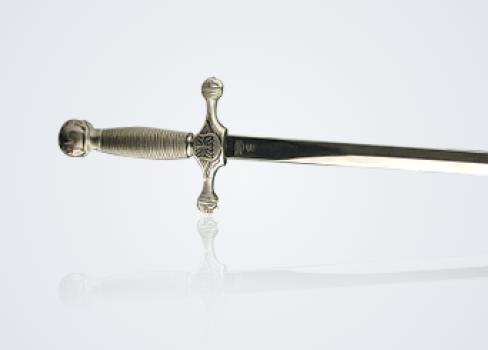
![]() | ||
|
Field Manual 3-21.5: Drill and Ceremonies, Appendix F
Army Sabers/Swords Manual of Arms As a quick reference Marlow White is providing the applicable FM relating to Army Sabers/Swords Drill.
F-1. NOMENCLATURE The nomenclature for the saber is saber for all officers, model 1902. The blade is 31 inches long (more information about sword lengths). The nomenclature for the sword is noncommissioned officers sword, model 1840. Figure F-1 shows the nomenclature for pertinent parts of the saber (sword) and scabbard.
Figure F-1. Nomenclature, saber and sword. F-2. STANDING MANUAL OF ARMS Execute Standing with the saber (sword) using the following procedures: a. Attention. This is the position before the command Draw, SABER (SWORD) and after the command Return, SABER (SWORD). The hands are behind the trouser seams and the thumbs touch the first joint of the forefingers (Figure F-2).
Figure F-2. Position of Attention. b. Draw Saber (Sword). Figure F-3 shows the sequence for executing Draw Saber (Sword).
Figure F-3. Draw Saber (Sword). (1) At the preparatory command Draw, grasp the scabbard with the left hand turning the scabbard clockwise 180 degrees, tilting it forward to form an angle of 45 degrees with the ground. Take the saber (sword) grip in the right hand and pull the saber about 6 inches from the scabbard. The right forearm should now be roughly parallel to the ground. (2) On the command of execution SABER (SWORD), the saber (sword) is pulled out of the scabbard and held in the position of Carry Saber (Sword). The saber (sword) should be held with the inner blade-edge riding in a vertical position along the forward tip of the right shoulder (Figure F-4). c. Carry Saber (Sword). The Carry Saber (Sword) position is assumed under the following situations:
(1) At Carry Saber (Sword) (Figure F-4), the officer (NCO) is at the Position of Attention. The saber (sword) is held in the right hand; the wrist is as straight as possible with the thumb along the seam of the trouser leg. The point of the blade rests inside the point of the shoulder and not along the arm. The saber (sword) is held in this position by the thumb and forefinger grasping the grip, and it is steadied with the second finger behind the grip. (2) Present Saber (Sword) may be executed from the carry when serving in the capacity of commander of troops or serving in a command that is not part of a larger unit. On the preparatory command of Present, the saber (sword) is brought to a position (at the rate, of two counts) approximately four inches from the nose so that the tip of the saber (sword) is six inches from the vertical (1, Figure F-5). At the command of execution ARMS, the right hand is lowered (at the rate of two counts) with the flat of the blade upward, the thumb extended on the left side of the grip (2, Figure F-5), and the tip of the saber (sword) about six inches from the marching surface. (3) On the command Order ARMS, the saber (sword) is returned to the position of Carry Saber (Sword).
Figure F-4. Carry Saber (Sword).
Figure F-5. Present Saber (Sword). d. Parade Rest. This position is assumed without moving the saber (sword) from the Order Arms position. At the command of execution, the left foot is moved about 10 inches to the left (of the right foot), and the left hand is placed in the small of the back, fingers extended and joined, palm to the rear (Figure F-6). At the command of execution ATTENTION, the left hand and foot are returned to the Position of Attention.
Figure F-6. Parade Rest.
e. Return Saber (Sword). This movement is executed from Carry Saber (Sword) in three counts. (1) At the preparatory command Return of the command Officers (Noncommissioned officers), Return, SABER (SWORD), the saber (sword) is brought to a vertical position (1, Figure F-7). The forearm (wrist) is held parallel to the marching surface about three inches from the body; the guard is pointed to the left. (2) At the command of execution SABER (SWORD), three actions take place simultaneously: the saber (sword) is pivoted downward toward the guard, at the same time grasp the scabbard with the left hand just above the upper brass ring mounting. Tilt it forward and turn it clockwise 180 degrees. The scabbard should form a 45-degree angle with the ground, and the saber (sword) bearer turns his head to the left and, looks down to observe the mouthpiece of the scabbard (the shoulders remain squared to the front and level). As smoothly and as quickly as possible, the saber (sword) is inserted into the scabbard and stopped so that about 12 inches of the blade is showing; the right forearm (wrist) is horizontal to the marching surface and three inches from the body (2, Figure F-7). (3) At the command of execution CUT of the command Ready, CUT, the saber (sword) is thrust smartly into the scabbard, the scabbard is rotated so that its tip is forward, and the saber (sword) bearer comes to Attention (3, Figure F-7).
Figure F-7. Return Saber (Sword). K-3. MARCHING MANUAL OF ARMS While marching, the saber (sword) is carried with the inner blade edge riding in a vertical position along the forward tip of the right shoulder (Figure F-8).
Figure F-8. Marching position. a. Eyes Right While Marching. The command Eyes, RIGHT is executed while marching at Carry Saber (Sword). The command Ready is given as the right foot strikes the marching surface (no action is taken). The second time the right foot strikes the marching surface, the command Eyes is given and the saber (sword) is brought to the position (count one position) of Present Arms. No action is taken the third time the right foot strikes the marching surface. The fourth time the right foot strikes the marching surface, the command Right is given. As the foot strikes the marching surface, the head is turned sharply to the right at a 45 degree angle, and the saber (sword) is brought downward (Figure F-9).
Figure F-9. Eyes right while marching. (1) While marching at Present Saber (Sword), the right arm is swung naturally (nine inches to the front and six inches to the rear) in a vertical plane, flexing the wrist to keep the tip of the blade level (about six inches) above the marching surface. This requires extending the wrist on the forward movement and elevating the wrist on the rearward movement. (2) The command Ready, FRONT is executed as follows: The command Ready is given as the right foot strikes the marching surface (no action is taken). The second time the right foot strikes the marching surface, a second command Ready is given (again, no action is taken). The saber (sword) is returned to the Order position while maintaining the arm swing (subparagraph b) as the right foot strikes the marching surface the third time. The fourth time the right foot strikes the marching surface the command FRONT is given. The head is turned sharply to the front as the right foot strikes the marching surface and the saber (sword) is returned to the Carry position the next time the left foot strikes the marching surface. b. Port Arms. Port Arms (Figure F-10) is executed on the preparatory command Double Time of the command Double Time, MARCH. This position is assumed only from the position of Carry Saber (Sword). The right arm swings naturally across and 6 inches in front of the body. The saber (sword) is canted 45 degrees from the vertical with the guard pointed to the left. The left hand grasps the scabbard.
Figure F-10. Port Arms. Return to Army Officer Saber, or Army NCO Sword.
|
![]() | |
All text and images © 2007, Marlow White Uniform Company View our privacy policy, or contact information.